Switching the Tinting module on
How the Tinting module is turned on for a business (by the superadmin or at signup) and how to give staff the right Tinting permissions.
What it is
The Tinting module is installed on every EZI ERP server but is off for every business until it is switched on. Three things must all be true before anyone sees the Tinting menu:
- The business's subscription package includes the Tinting module.
- The business itself has the Tinting module ticked.
- The user has at least one of the two Tinting permissions.
If any one of these is missing, Tinting pages answer with a "page not found" (404) on purpose, so a business without the module does not see it at all.
Who uses it
- Superadmin (the company that runs the EZI ERP server) – ticks the module on the package and on the business.
- Owner / manager – gives staff the Tinting permissions through roles.
- New shop owners – can get it switched on automatically by choosing "Window tinting shop" when they sign up.
Why it matters
Shops only pay for and see what they use. Keeping it off by default also means other kinds of businesses on the same server are never confused by tinting menus.
How to use it
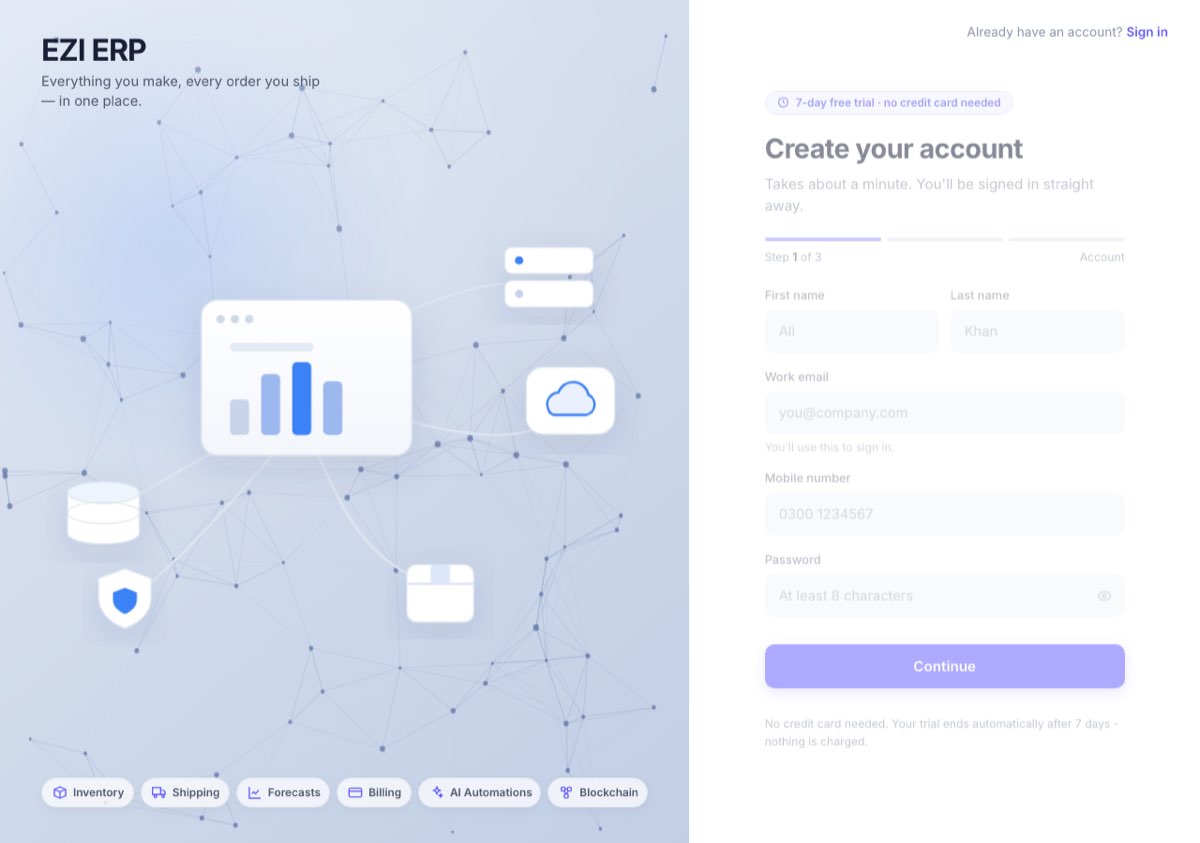
Option A – a new shop signs up
- Open the signup page with the tinting link: /signup?type=tinting. (On the normal /signup page the tinting choice starts unticked.)
- Fill in the owner and business details.
- On the "What would you like to try?" step, make sure Window tinting shop ("Quotes, jobs, appointments, film rolls, warranties and online booking") is ticked.
- Finish the signup. The trial includes the Tinting module whatever the trial package says, and the shop starts with:
- a website booking key,
- starter quotation and warranty terms,
- three starter films: Carbon 35%, Ceramic 20% and Ceramic 70% (windshield).
The owner is signed straight in and, as the business Admin, already has full Tinting access.
Option B – an existing business (superadmin)
- Package. Go to Superadmin → Packages, edit the package the business is on, tick Tinting module (window tinting business) and save. (Without this, the business switch below has no effect.)
- Business. Go to Superadmin → Businesses, open the business, click Edit Module, tick Tinting Module and click Save.
- Ask the shop owner to sign out and back in. The Tinting menu appears in the left sidebar.
Give staff permissions (owner / manager)
- Go to User Management → Roles and edit (or add) a role.
- Tick one of the Tinting permissions:
- Tinting: use jobs, appointments and photos (
tinting.access) – for technicians. - Tinting: manage pricing, films, quality approval and invoices (
tinting.manage) – for managers and front desk staff who write quotations and take payments.
- Tinting: use jobs, appointments and photos (
- Save the role and assign it to the user in User Management → Users.
The Tinting permissions only appear in the role screen once the module is on for your business.
Rules & limits
- Admin role users always have full access.
tinting.accessonly (technician):- sees only jobs and appointments where they are the lead technician or on the job team;
- can use Dashboard, My day, Appointments, Leads, Jobs & quotations, Projects, Vehicles & properties, Patterns & cutting, Films, Rolls, Warranties and Tasks;
- cannot open Insights & AI, Live map, Technicians, Photo review, Online shop, Billing plans, Gift cards, Coupons, Fleets, Team & profit, Automations or Settings, and cannot create new quotations from the dashboard.
tinting.manage: sees every job and every page, approves photos and quality checks, creates invoices and changes settings.- The superadmin also gets a Tinting plan limits menu item – see Usage limits.
Tips
- Give the front desk
tinting.manage; technicians normally need onlytinting.access. - If a user gets "page not found" on /tinting, check the three switches above in order: package, business, permission. See FAQ & troubleshooting.
- Next step: fill in Tinting settings, then read the overview.