Getting started with EZI ERP
Create your account, set up your business and record your first sale in about 20 minutes - no IT knowledge needed.
EZI ERP is online business software. It keeps your customers, products, stock, sales, purchases, expenses, payments and reports in one place, and it works in any web browser - on a computer, tablet or phone. There is nothing to install.
This guide takes you from "never used it" to "first invoice sent". Follow the steps in order. Each step links to a longer article if you want more detail.
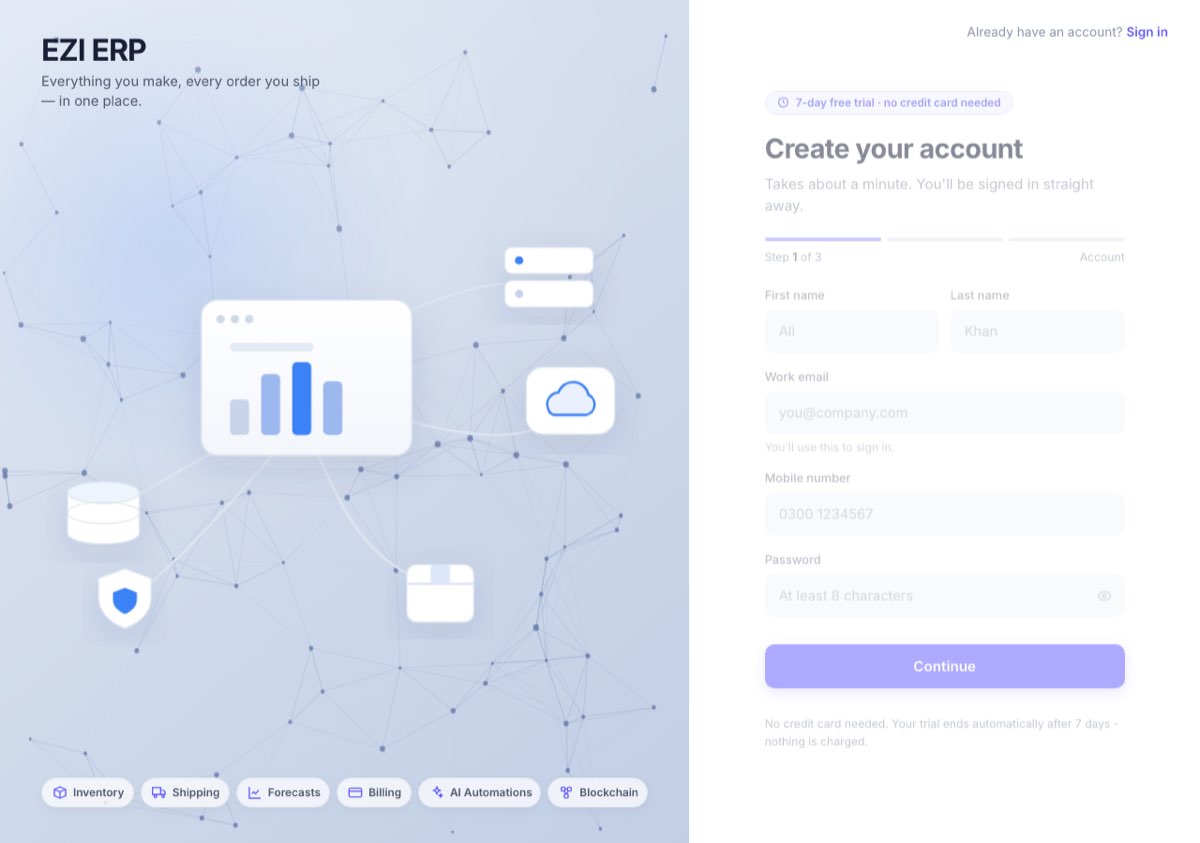
Step 1 - Create your free account (2 minutes)
- Go to eziline.net/signup. Running a window-tint shop? Use eziline.net/signup?type=tinting instead - the Tinting module is switched on for you.
- Step 1 of 3 - You: type your first and last name, your work email (you will sign in with it), your mobile number and a password of at least 8 characters. Press Continue.
- Step 2 of 3 - Your business: type the business name, choose your country and city. Currency and time zone fill in by themselves - check them.
- Step 3 of 3 - Features: tick what you need (Sales & POS, Purchases, Stock control, Expenses, Payment accounts and any extra modules such as Window tinting shop). You can switch features on or off later.
- Press the final button to create the account. You are signed in straight away and your free trial starts. No card is needed.
Tip: the first person to sign up is the owner/admin. Staff get their own logins later (Step 5) - never share your password.
Step 2 - Check your business settings (5 minutes)
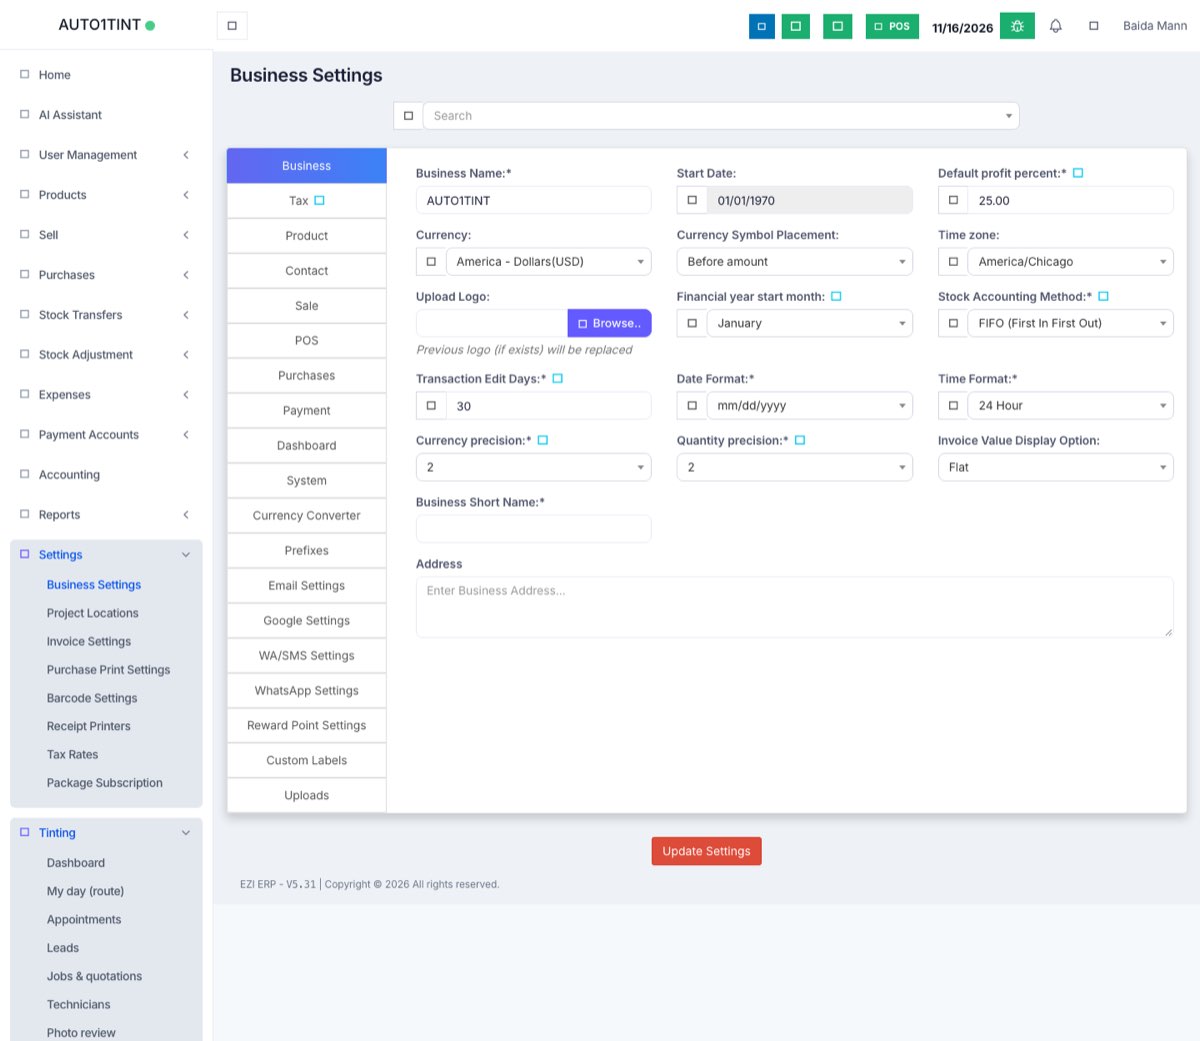
Open Settings → Business Settings. The important tabs for day one:
| Tab | What to check |
|---|---|
| Business | Name, logo, currency, time zone, financial year start |
| Tax | Your tax number, and whether prices include tax |
| Product | Whether you track stock (you usually do) |
| Sale / POS | Default payment method, invoice behaviour |
| Prefixes | How invoice numbers look (e.g. INV2026/0001) |
Press Update Settings at the bottom. More: Business settings.
Step 3 - Add your locations, tax rates and payment accounts
- Settings → Business Locations - one location is made for you. Add another for each shop or warehouse.
- Settings → Tax Rates - add your sales tax (e.g. GST 17%, sales tax 8.25%).
- Payment Accounts → List Accounts - add your bank and cash accounts so money is tracked by where it actually sits.
Step 4 - Add customers and products
- Contacts → Customers → Add for each customer (or Import them from Excel).
- Products → Add Product for each thing you sell. Services (like labour) are products with stock tracking switched off.
- Got stock already? Use Products → Import Opening Stock, or add opening stock on each product.
Step 5 - Invite your staff
User Management → Users → Add. Give each person a role (e.g. Cashier, Manager, Technician). Roles decide what each person can see and do - see Roles & permissions.
Step 6 - Make your first sale
- Sell → Add Sale (or POS for over-the-counter sales).
- Pick the customer, add products, check the total.
- Choose how they paid (cash, card, bank transfer) and the payment account it went into.
- Press Save (or Save and print). The invoice is created, stock goes down, the customer's ledger and your payment account are updated, and it all shows in reports.
Step 7 - Look at your numbers
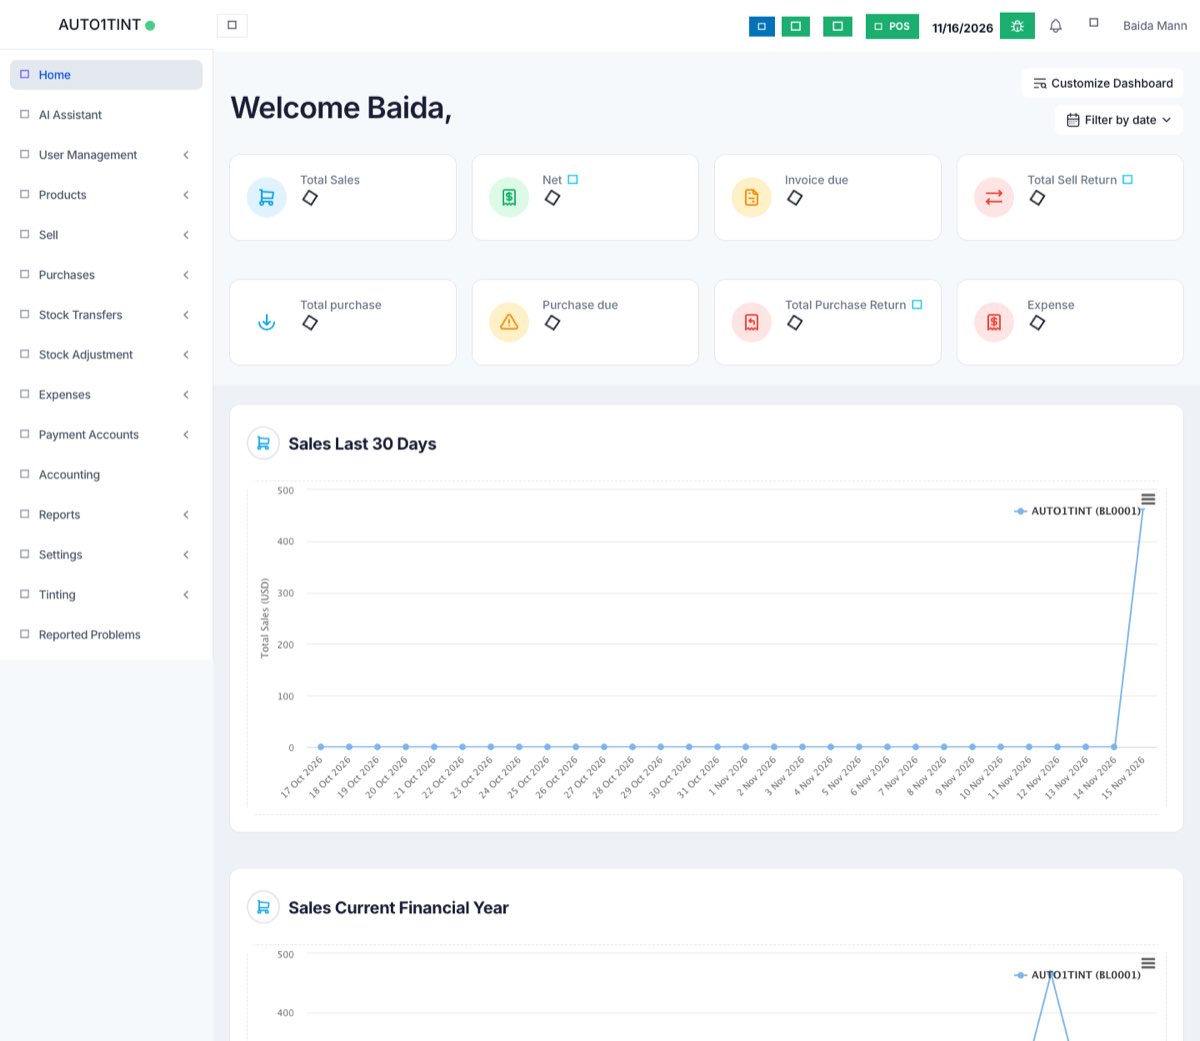
- Home shows today's sales, purchases, money owed to you and by you.
- Reports → Profit / Loss Report shows whether you made money in any period.
- Contacts → (customer) → Ledger shows everything one customer bought and paid.
What next?
- See the whole process as pictures: Sign-up to first sale flow chart.
- Tint shop? Read Start a tinting shop in 15 minutes.
- Words you might not know: Glossary.