Pattern library
Keep your own library of vehicle film patterns, with versions, a review route, fit tests and problem reports, so every piece you cut comes from a checked shape.
What it is
The pattern library is where your shop keeps the outlines ("patterns") of the windows and paint panels you cut film for. Each vehicle in the library (make, model, years, body and trim) has parts. Each part has a pattern made of numbered versions. A version is the actual shape, stored in millimetres.
Patterns feed the cutboard and the plotter. See Cutboards and plotters.
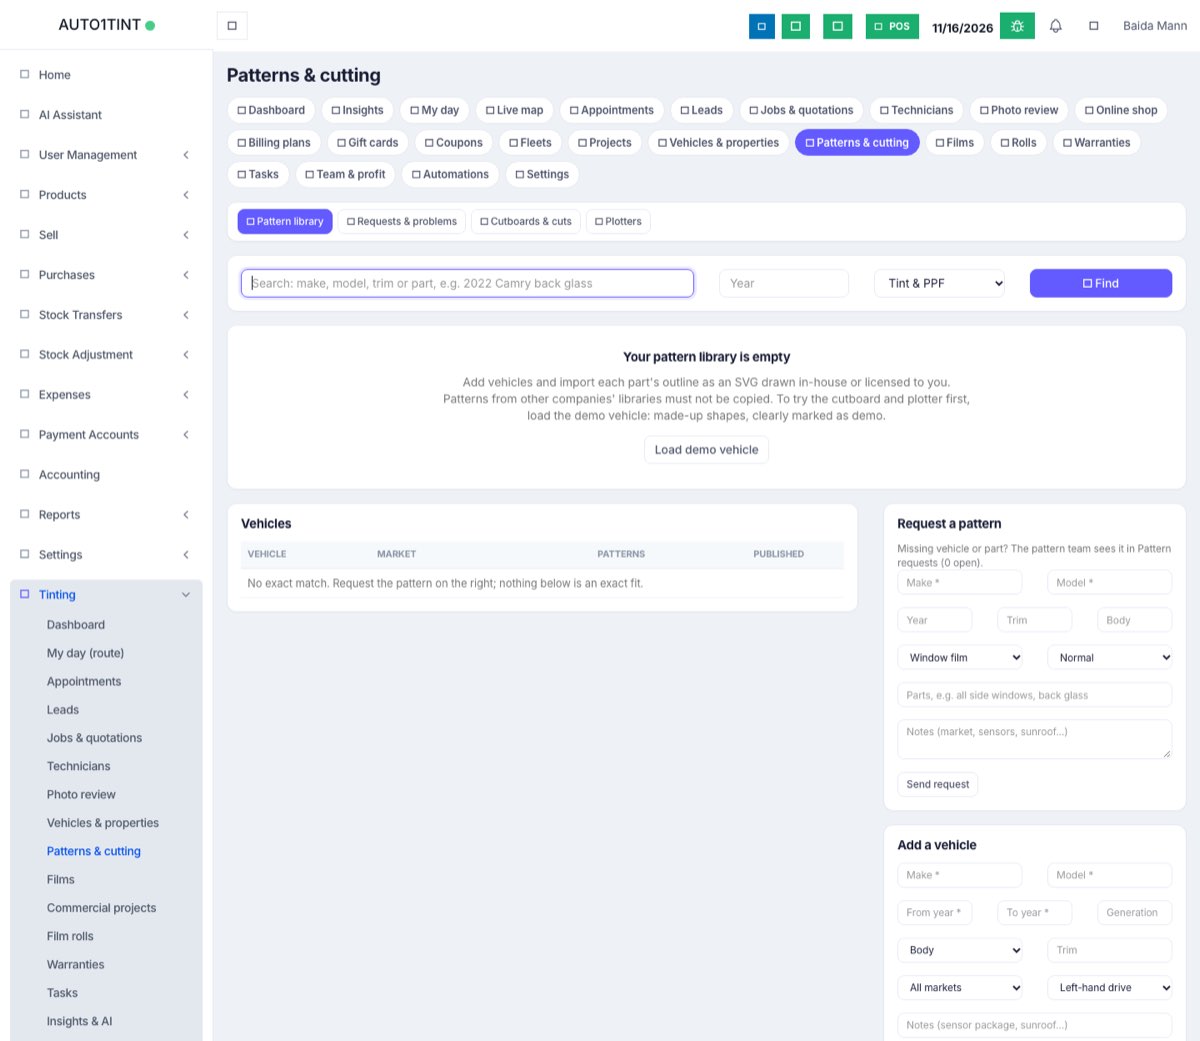
Important: EZI ERP does not include a library of real vehicle patterns. You draw your own, scan them, or license them from a supplier. Never copy patterns from another company's library. To try things out, you can load a demo vehicle with made-up shapes. Do not cut film for a customer from the demo shapes.
Who uses it
- Owner/manager (permission
tinting.manage): adds vehicles, imports and edits patterns, reviews and publishes them, and approves installer notes. - Technicians and front desk (
tinting.access): search the library, open cutboards, request missing patterns, record fit tests, report problems and add installer notes. - Customers never see this screen.
Why it matters
A wrong pattern wastes film and time. The library makes sure that:
- the version used for cutting is one someone actually tried on a real car (a "fit test");
- a published version never changes, so you always know exactly what was cut;
- problems found by installers go back to the pattern instead of being forgotten.
How to use it
Go to Tinting → Patterns & cutting. The tabs at the top are Pattern library, Requests & problems, Cutboards & cuts and Plotters.
Find a vehicle
- Type into the search box, for example
2022 Camry back glass. A year in the box is used as the year filter. You can also fill Year and pick Window film or PPF. - Press Find. Exact year matches appear first. Vehicles from other years appear under Close matches, other years, marked Check fitment. They are not confirmed to fit.
- Press Open to see the vehicle's parts.
Load the demo vehicle (optional)
If the library is empty, a manager sees Load demo vehicle. It adds "Example Sedan" with 12 made-up window and PPF parts, already published and marked Demo.
Add a vehicle (managers)
In the Add a vehicle card, fill Make, Model, From year and To year. Generation, body, trim, market and left-hand or right-hand drive are optional. Then press Add vehicle.
Import a pattern (managers)
On the vehicle page, use Import a pattern (SVG or DXF):
- Choose Window film or PPF, then a category (for example Front door glass, Back glass, Hood, Bumper).
- Enter the part name. Choose Left, Right or One piece, and add an optional Pair key that links a left part to its right part.
- Choose the source (Drawn in-house, From our scan, Licensed, Shop contribution, Other import). In Where it came from / right to use it, say where the shape came from and why you may use it. This field is required.
- Pick the
.svgor.dxffile. If the file does not say its units, choose Millimetres or Inches (or Pixels (96/in) for SVG). - Optional but recommended: in the scale check, enter the real width of the piece. If the imported shape is more than 2% off, the import is refused.
- Press Import as draft.
In your drawing program, name shapes, groups or DXF layers sensor, camera or cutout for sensor holes. Name lines that must not be cut ref or guide. In a DXF, loose lines and arcs on one layer are joined into one outline; explode blocks before exporting.
The pattern page
Open a part's Details link to see:
- Version N with the drawing, its size in mm and inches, any errors (✖) or warnings (⚠), the checksum and Download SVG (mm).
- Versions: every version with its status, size, reason for the change, author and review notes. Tick A and B on two versions and press Compare A and B. The two outlines are drawn on top of each other, with the largest and average difference in mm and the change in size.
- Cuts from this pattern.
- Review, New version, Details, Fit tests, Problems and Installer notes.
Review route (managers)
Draft → In review → Verified → Published.
- Send for review. This works only when the drawing has no errors.
- Someone fits the shape on a real car and records it under + Record a fit test: the version, Car fitted on (plate, VIN or job), film, plotter, notes and photos. Then they press Passed or Failed. A failed test sends the pattern back to draft.
- A reviewer presses Verified after fit test, or Return with a note saying what needs fixing.
- Press Publish version N. From now on, cuts use this version.
A published pattern can be Flagged (it becomes Needs review), set to Deprecate, or brought back with Put back in use.
Make a new version
- Edit shape in the editor: drag the blue points, double-click to add a point, and use the arrow keys or Delete. In Selected line, change the layer (Cut outline, Sensor / cut-out, Reference (not cut)), Move by, Grow / shrink (tick keep original (weed border) to keep the old line too), Simplify, Keep top / left part, Keep bottom / right part, Split in two or Weld with another outline (joins two overlapping or touching pieces into one; a gap they enclose becomes a cut-out). Add a sensor / cut-out adds a rectangle or circle. Then enter What changed and why and press Save as new version.
- Or upload a new SVG or DXF with Upload as draft.
- For a left or right part with no partner, press Make the right (or left) side by mirroring.
A new version is always a draft. Cuts keep using the published version until the new one is fitted, verified and published.
Problems and installer notes
- + Report a problem: choose the version, category (for example Too small / short or Sensor / camera conflict) and severity, then describe it and add photos. A Critical or Blocking report on the version in use flags the pattern straight away.
- Installer notes: add a Tip or a Caution, for all versions or only the current one. Notes from technicians wait for a manager's approval. Everyone can vote a note Helpful or Outdated. Cautions also show on the cutboard.
Pattern requests
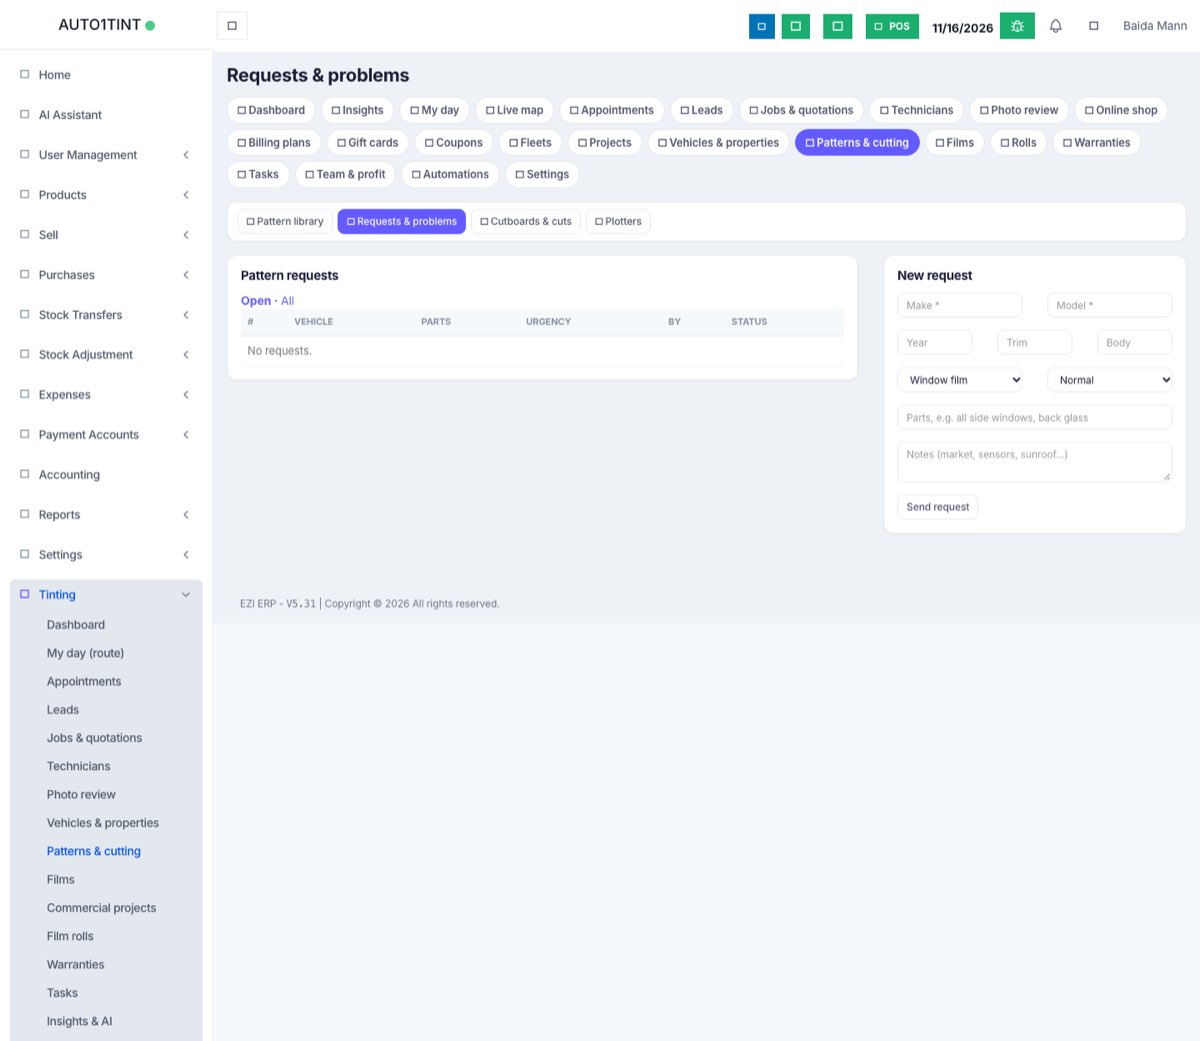
Can't find a vehicle or part? Fill Request a pattern (on the library page or a vehicle page). Enter make, model, year, family, urgency (Urgent (car booked), Normal or Low) and the parts you need, then press Send request. Managers handle requests in the Requests & problems tab and set their status: submitted, in_progress, completed or rejected. That tab also lists open pattern problems.
Rules & limits
- Only
tinting.manageusers can add vehicles, import, edit, mirror, review, publish, resolve problems and approve notes. Anyone with access can request, fit-test, report and add notes. - SVG or ASCII DXF, up to 5 MB. Binary DXF and DXF blocks are not read. SVG files with scripts or external links are refused. Units must be known.
- Cut and sensor lines must be closed, have at least 3 points, enclose real area and not cross themselves. A piece over 3000 mm is refused because the units are probably wrong.
- Verify needs a passed fit test on that exact version. The person who made the version cannot verify it, unless a business Admin ticks the override (the override is recorded).
- A failed fit test must say what did not fit. Resolving or rejecting a problem needs a reason.
- If someone already has an open request for the same vehicle, your note is added to that request.
- Editing details (name, notes) does not change the review status. Changing the shape always creates a new draft.
- Joining two pieces into one ("weld") is not available. Draw the joined outline and import it instead.
Tips
- Always use the scale check. It catches most unit mistakes.
- Make one side, get it published, then mirror it for the other side.
- Ask installers to report problems from the cut itself (Report a problem… on the cutboard). The report is then linked to that cut.
- Related: Cutboards and plotters, Settings, Film rolls, FAQ.