Cutboards, cut files and plotters
Lay pattern pieces on a real film roll, check them, make the plotter cut file and record the result so roll stock and job costs stay right.
What it is
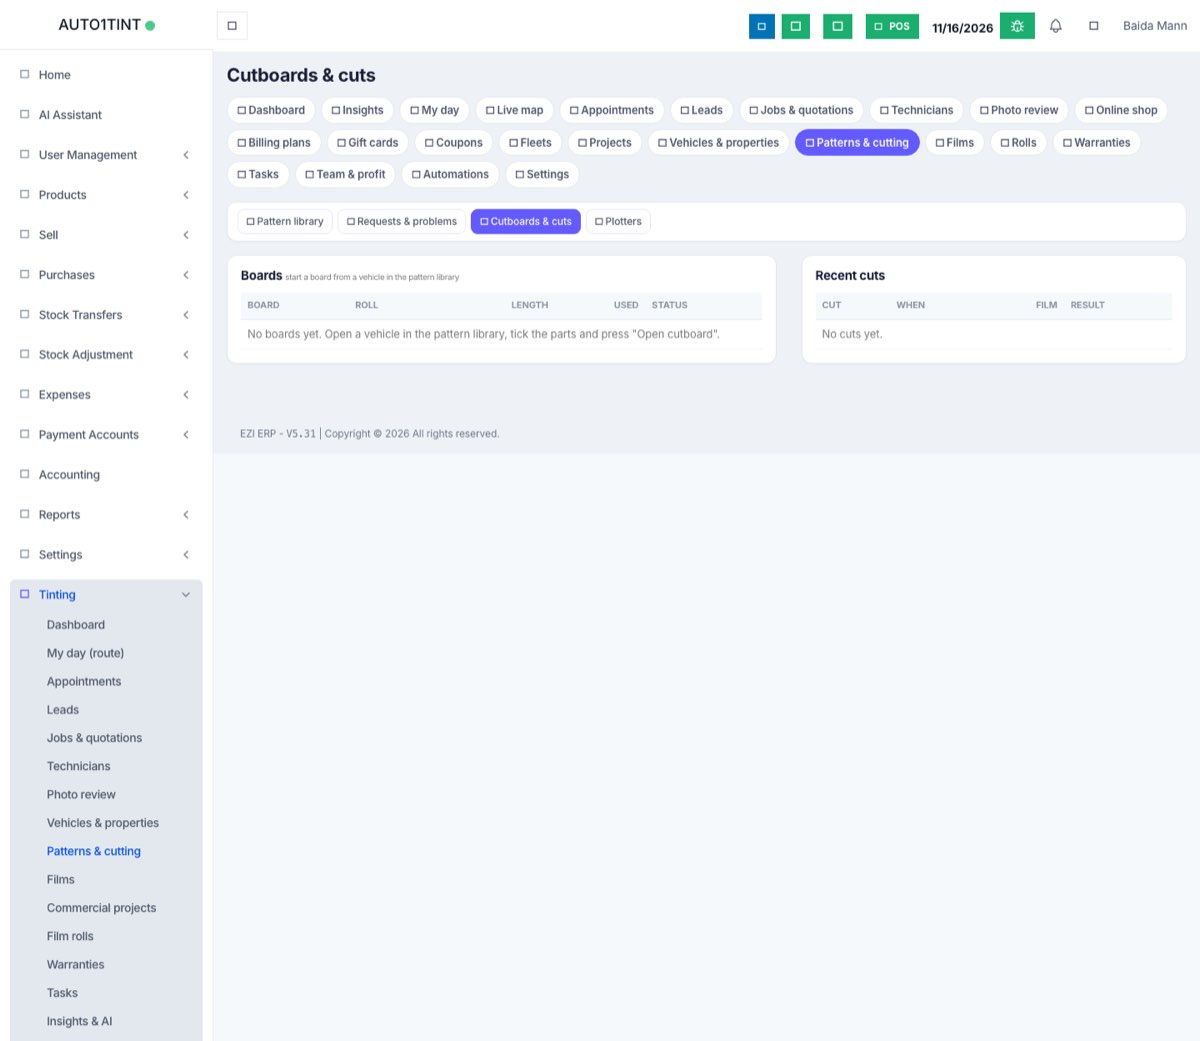
A cutboard is a screen that shows a strip of your film roll. You place the pattern pieces for a job on it, the system checks the layout, and then it writes a cut file for your plotter (vinyl cutter). The cut file is HP-GL (.plt).
A plotter record holds your cutter's settings and its calibration history.
When the operator confirms the cut, the film used is taken off the roll and out of stock, and it is added to the job's film cost.
Who uses it
- Technician / cutter operator: opens boards, places pieces, makes the cut file and records the result.
- Owner/manager (
tinting.manage): adds plotters, changes their settings and saves calibration measurements. A manager can also turn on Only allow cuts from published (verified) patterns in Settings.
Why it matters
- Less waste: auto-arrange packs small pieces into the gaps beside big ones. The board always shows how much film it needs and the waste percentage.
- Fewer bad cuts: the cut file is blocked when pieces overlap, a piece is off the roll, the roll is too short, or the plotter is not calibrated.
- Accurate stock: film is taken off the roll once, when the cut is confirmed.
- Traceability: every cut keeps the exact pattern versions, the layout and the plotter settings. You can download the same file again later.
How to use it
Open a cutboard
- Go to Tinting → Patterns & cutting, find the vehicle and press Open. See Pattern library.
- Tick the parts to cut.
- In Cut the ticked parts, choose the job, or No job (stock / test cut). Leave add the other side of left/right parts ticked to get both sides at once.
- Press Open cutboard.
The board opens already arranged. If the job has a film on it, the system picks the in-use roll of that film with the most length left. It also picks your first active plotter.
Arrange the pieces
- Drag pieces with the mouse. The arrow keys move the selected piece 1 mm (10 mm with Shift).
- Toolbar buttons: Turn (90°, key R), Flip (left-right, key M), Sensors (hide or show this piece's sensor holes, key S), duplicate (D), remove (Delete), undo (Ctrl+Z), All sensors off, Auto-arrange, and the zoom buttons + and −.
- The white area is the roll and the shaded band is the margin. The roll feeds downwards.
- Pieces turn red when they overlap, are too close together or are off the roll.
- Use Add a part… and Add to put another pattern on the board.
- Changes save automatically.
Board settings
In the Board panel, set the name, Roll (or No roll (enter width)), Width mm, Margin mm, Gap mm, Film (when no roll) and Plotter. When you choose a roll, the board takes that roll's width. The stats show Film length, Piece area and Used / waste.
The Pieces list shows each piece's version and any open problem reports. Approved installer cautions appear in amber under the piece.
Make the cut file
- Read the Cut panel. ✖ lines are errors and must be fixed. ⚠ lines are warnings. ✔ Ready to cut. means everything is fine.
- If there are warnings, tick I have read the warnings.
- Press Make cut file (.plt). The file downloads and a cut is recorded as waiting for result.
- Send the file to the cutter using its own software, for example Graphtec Cutting Master, Roland CutStudio or the GCC/Jaguar utility.
Sensor holes are cut before the outlines so the piece does not move. Reference lines are never cut.
Record the result
Under Cuts on the board:
- Optional: enter the film actually pulled (in mm) and a note.
- Press Cut OK, take film, or press Failed. A failed cut needs a note saying what went wrong.
Cut OK with a job and film: the film is recorded on the job, split into used film and waste, and taken off the roll and stock. Failed with a job: all the film pulled is recorded as waste. With no job, only the roll length goes down, with no job cost. Each cut can get a result only once.
Use .plt to download that cut's exact file again. Use Report a problem… to report a pattern problem linked to that cut. Copy this board makes a new draft copy of the board.
Plotters
Go to Tinting → Patterns & cutting → Plotters.
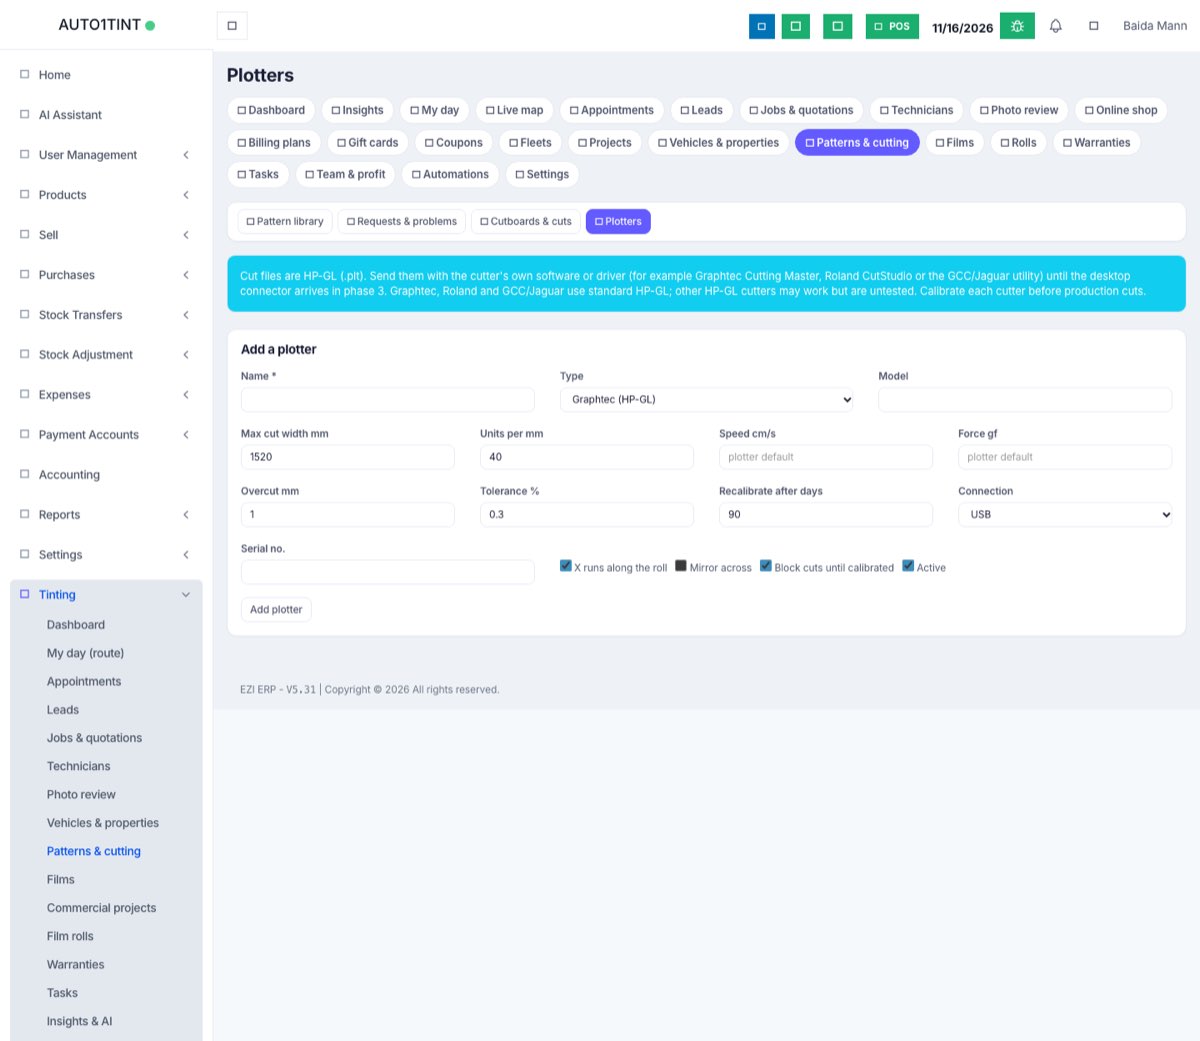
- In Add a plotter, enter Name, Type (Graphtec, Roland, GCC / Jaguar, or Other HP-GL cutter (untested)), Model, Max cut width mm, Units per mm (40 for most cutters), Speed cm/s, Force gf, Overcut mm, Tolerance %, Recalibrate days, Connection and Serial no. There are also four tick boxes: X runs along the roll, Mirror across, Block cuts until calibrated and Active. Press Add plotter.
- To calibrate, enter a size (the default is 200 mm) and press Test square (.plt). Cut the square on scrap film.
- Measure it with a steel rule Along roll and Across roll, then press Save measurement.
- The system works out a correction and saves it every time. The calibration passes when both sides are within the tolerance. If it fails, cut the test square again and measure again.
Rules & limits
- Making a cut file is blocked when: the board is empty; no plotter is chosen; the plotter needs calibration (never calibrated, last run failed, or older than Recalibrate days); the roll is wider than the plotter; the roll has too little length left; a piece has a shape error, overlaps or is off the roll; a pattern is deprecated.
- Warnings (you can cut after ticking the box): an unverified pattern, open serious problem reports, demo geometry, no roll chosen. With Only allow cuts from published (verified) patterns on, an unverified pattern becomes an error.
- A calibration more than 10% off is refused. Check Units per mm first.
- Changing Units per mm, X runs along the roll or Mirror across clears the calibration, so you must calibrate again.
- Only managers can change plotters or save calibrations. Anyone with access can download the test square.
- Width is 100–3000 mm. A board can hold up to 120 pieces.
- To send cuts straight to a USB, serial or network cutter without handling files, install the desktop bridge - see Cutter bridge and cut queue. Without it, send the
.pltfile with the cutter's own software.
Tips
- Recalibrate after you change the blade or the film type.
- Always choose the real roll, so stock and job costs stay right.
- Related: Film rolls, Pattern library, Job card, FAQ.