Invoice settings, barcodes, printers and tax rates
Control how invoices are numbered and look, how barcode labels print, which receipt printer is used, and which tax rates apply.
What it is
Four pages under Settings decide how your documents come out:
- Invoice Settings – invoice numbering (Invoice Schemes) and invoice design (Invoice Layouts).
- Barcode Settings – sticker sheet sizes for product labels.
- Receipt Printers – printers connected over the network for POS receipts.
- Tax Rates – the taxes you charge or pay, alone or in groups.
Why you would use it
- Invoices show your logo, tax numbers and the details your customers expect.
- Each branch can number its invoices its own way (for example "SHOP1-0001").
- Labels print neatly on the sticker paper you buy.
- Tax is worked out correctly and shows in the Tax Report.
How to use it
Invoice numbering (schemes)
- Go to Settings > Invoice Settings, tab Invoice Schemes.
- Click Add.
- Enter a Name, a Prefix (e.g. INV-), the Numbering Type (Sequential), Start from and Number of digits. A Preview shows the result.
- Tick Set as default if all locations should use it, then Save.
Invoice design (layouts)
- On the same page, open the Invoice Layouts tab and click Add (or edit the default).
- Choose a design, upload a logo and set heading text.
- Tick which fields to show: customer details, location address, mobile, email, tax details, product SKU, brand, warranty, lot number, expiry, Show Barcode, Show QR code, Show total in words and more.
- Rename labels if you like (for example "Qty" instead of "Quantity").
- Add Footer text (return policy, bank details) and click Save.
- Assign the layout to a location in Settings > Project Locations. See Business locations.
Barcode sticker settings
- Go to Settings > Barcode Settings and click Add new setting.
- Enter a Sticker Sheet setting Name and the measurements in inches: Width of sticker, Height of sticker, Paper width, Paper height, Stickers in one row, Distance between two rows, Distance between two columns, No. of Stickers per sheet. Tick Continous feed or rolls for label printers.
- Click Save. Choose this setting when you use Products > Print Labels. See Products.
Receipt printers
- Go to Settings > Receipt Printers and click Add.
- Enter the Printer Name, Connection Type, Capability Profile and Characters per line.
- For a network printer enter IP Address and Port (usually 9100); otherwise enter the Path.
- Click Save, then choose this printer in the location's settings.
Most businesses simply print from the browser and don't need this page.
Tax rates and groups
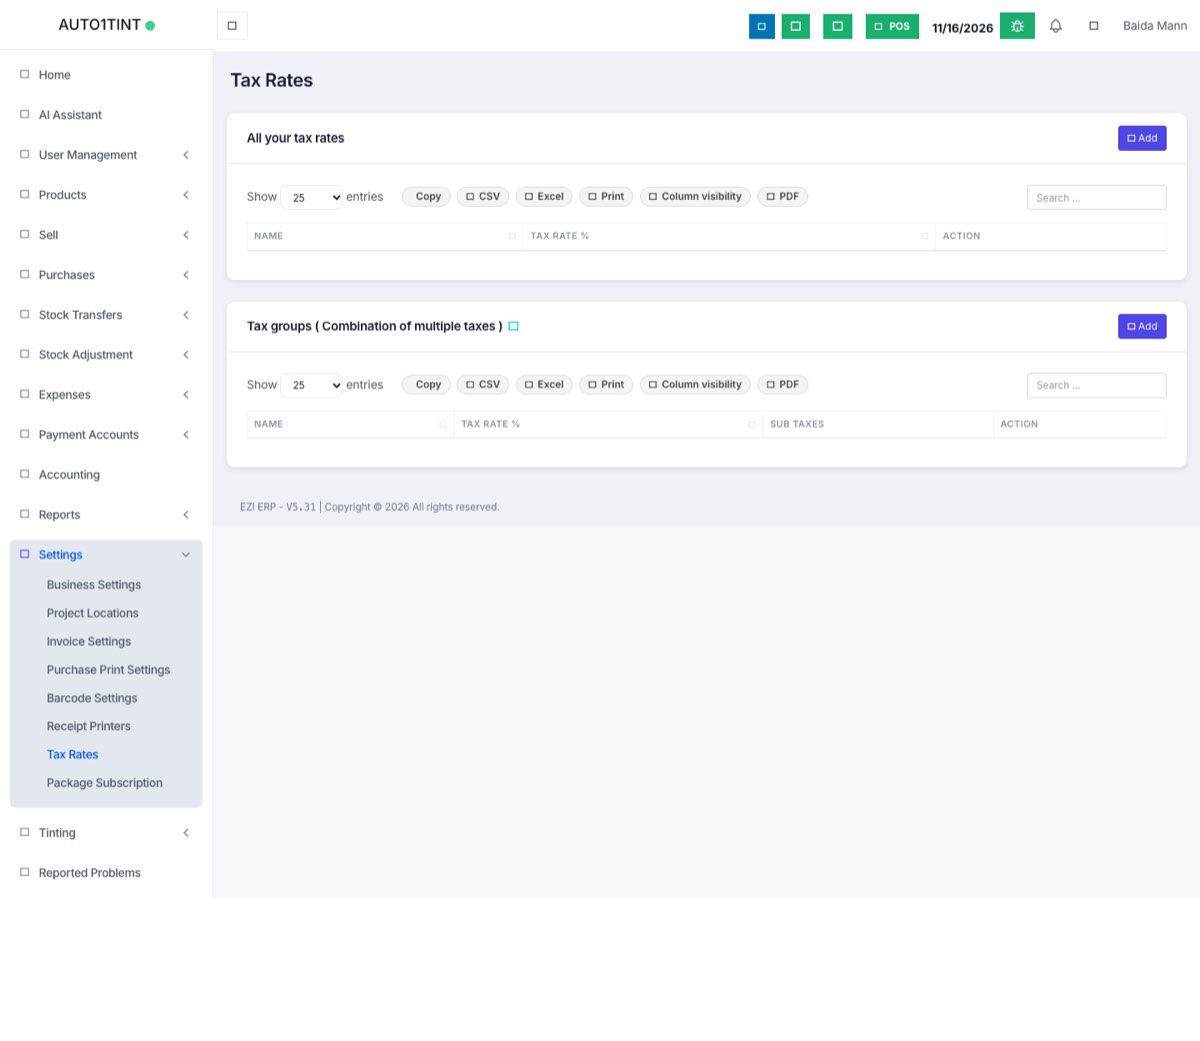
- Go to Settings > Tax Rates. Click Add under Tax Rates.
- Enter a Name (e.g. GST) and Tax Rate %, then Save.
- If two taxes apply together, click Add under Tax groups, give the group a Name, pick its Sub taxes and Save.
- Choose the tax on each product (Applicable Tax) or as a default in Business Settings > Sale.
Tips / common questions
- Changing a scheme does not renumber old invoices. It only affects new ones.
- Different layout for POS and normal sales? Yes – each location has separate POS and sale layout choices.
- Business tax numbers printed on invoices are set in Business Settings > Tax. See Business settings.
- Purchase document options are under Settings > Purchase Print Settings.