Start a tinting shop in 15 minutes
The shortest path for a window-tint business - sign up, check the starter films, take your first booking and finish your first job.
The Tinting module turns EZI ERP into shop software for window-film businesses: online booking with deposits, quotations customers sign on their phone, a job card per car or building, technician check-in with photos, film-roll stock, warranties and reports.
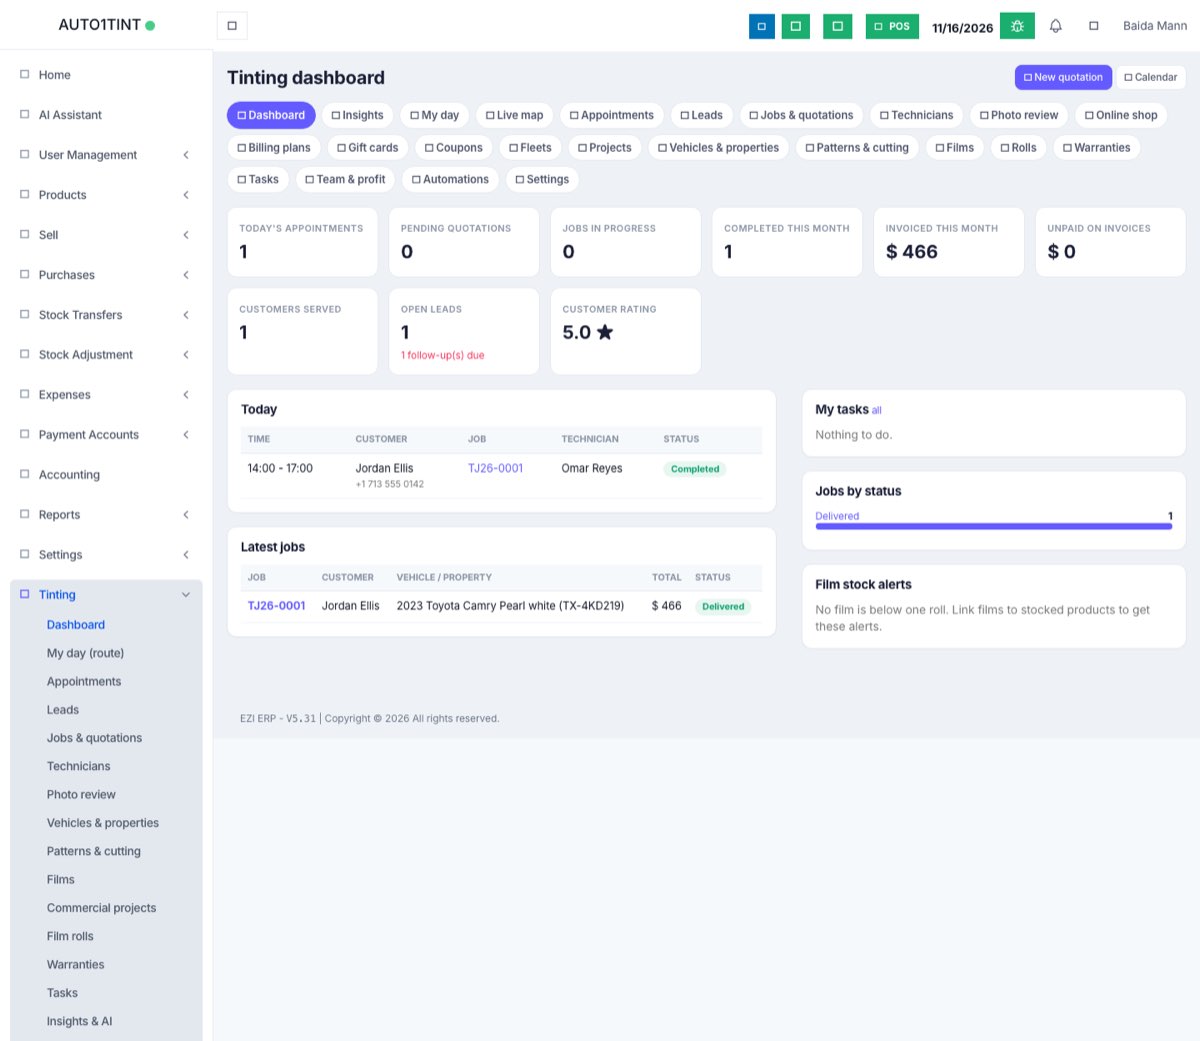
1. Sign up as a tinting shop
Open eziline.net/signup?type=tinting. The Window tinting shop feature is already ticked on the last step. When you finish you get:
- the Tinting menu switched on,
- three starter films (Carbon 35%, Ceramic 20%, Ceramic 70% windshield) you can rename or delete,
- standard quotation and warranty wording,
- a website booking key, ready for the WordPress plugin.
Already a customer? Ask your administrator to switch the Tinting module on for your business (how).
2. Check Tinting → Settings (3 minutes)
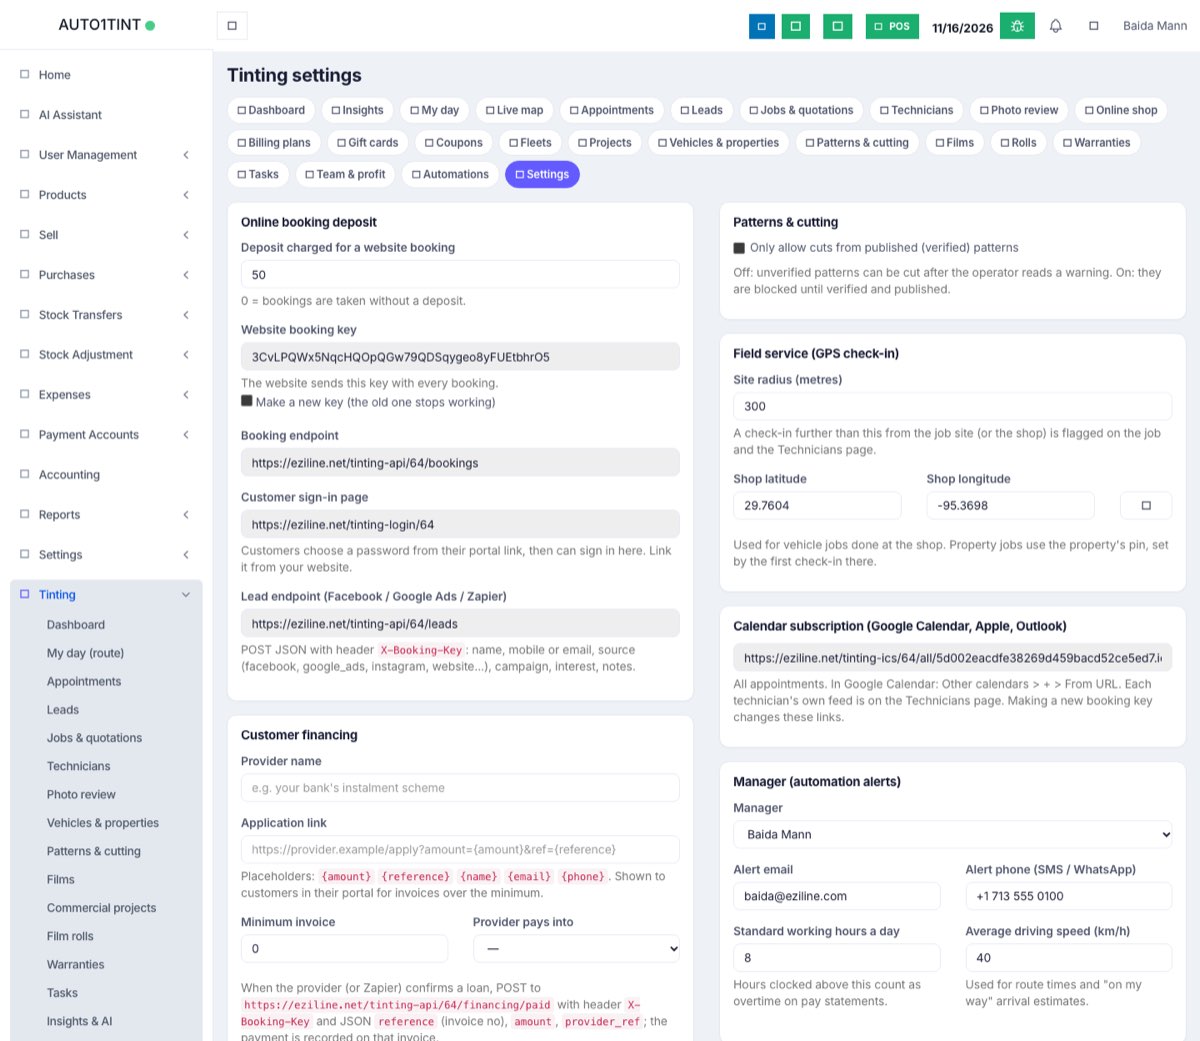
Set the deposit customers pay when they book online (0 = no deposit), your shop's map pin, standard hours, and your quotation and warranty terms. Payment keys (Clover or Stripe) can wait until you take online deposits. Details: Tinting settings.
3. Add your films and rolls (3 minutes)
Tinting → Films: one row per film you sell, with VLT %, UV and heat rejection and warranty months. Tinting → Film rolls: add each roll you have in stock so usage and waste are tracked automatically.
4. Add your team
User Management → Users → Add for each technician, then give them a role with Tinting access (technicians see only their own jobs) or Tinting manage (managers see everything).
5. Your first job, end to end
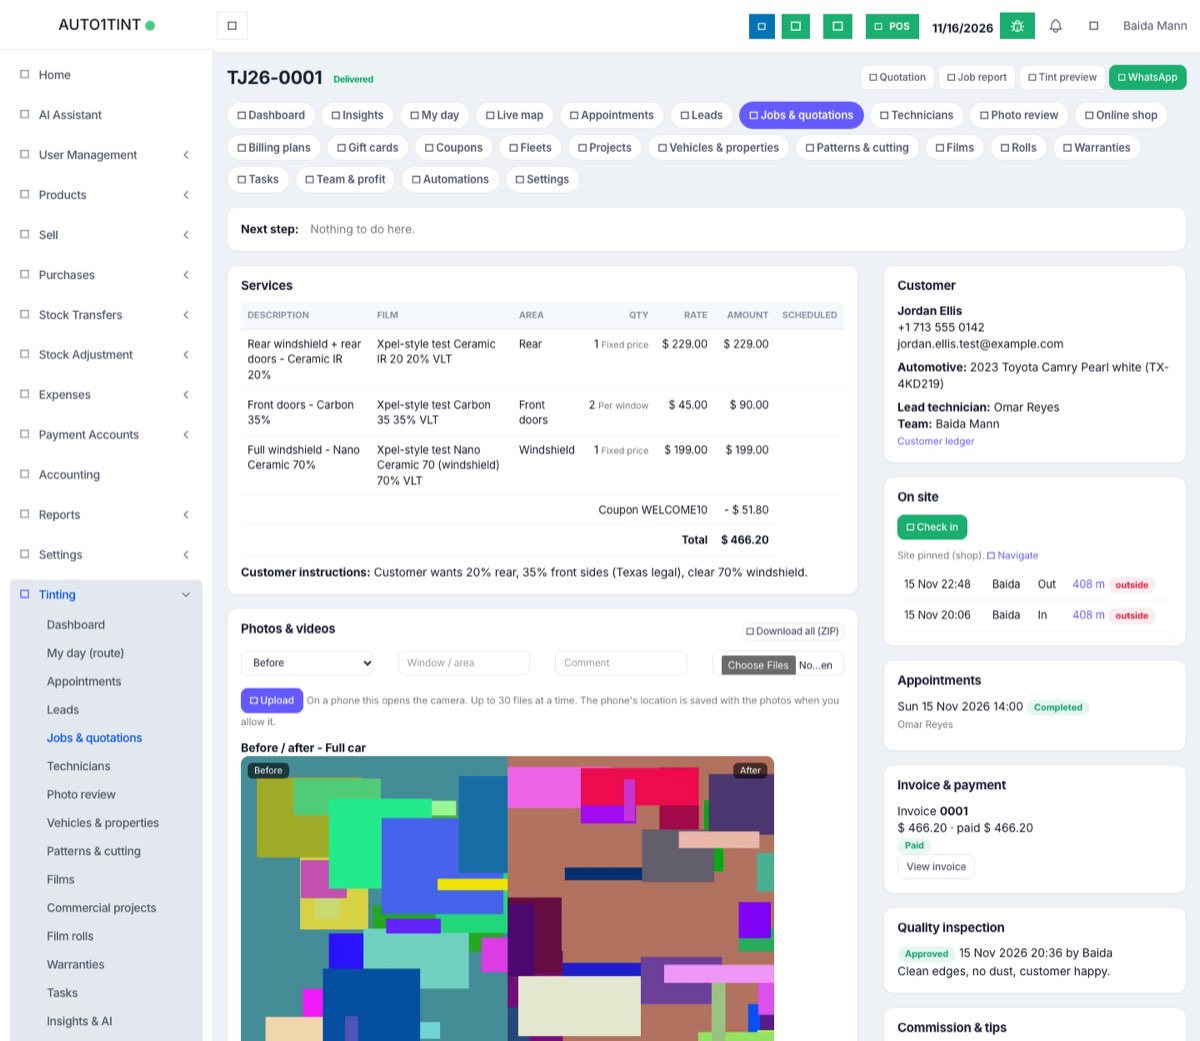
- Tinting → Jobs & quotations → New quotation: choose or add the customer, add their vehicle, add a line per area (rear, front doors, windshield) with film and price.
- Send the quotation by WhatsApp or the customer portal link - the customer accepts and signs on their phone.
- Book the appointment on the calendar and assign a technician.
- On the day the technician opens My day, taps Check in, takes before photos, records film used, takes after photos and sends the job for inspection.
- The manager ticks the quality checklist and approves - the job is completed.
- Press Create invoice. Any deposit the customer already paid is taken off automatically. Take the balance in the shop, or send the online payment link.
- Issue the warranty - the customer gets a certificate with a number and expiry date.
See it as a picture: Vehicle lifecycle flow chart and Customer journey.