Photos & videos
Take before, during and after photos and videos on every job, mark up damage, review them as a manager and share the best ones with the customer.
What it is
Every job has a Photos & videos panel. Technicians and staff upload pictures and short videos straight from a phone camera, sorted into categories:
- Before, During installation, After
- Damage, Product, Measurement, Inspection, Warranty
Each photo can carry a Window / area (for example "Driver front" or "Rear windshield"), a comment, and the phone's GPS position. The system also checks every photo automatically for common problems, and managers approve or reject photos in a Photo review queue before anything reaches the customer.
Who uses it
- Technicians take the photos on the job, usually from the mobile app.
- Owners / managers review photos, reject poor ones with a reason, and choose which photos the customer sees.
- Front desk downloads all photos of a job as a ZIP, for example for an insurance claim.
- Customers see the shared photos in the customer portal and in the job report.
Why it matters
Photos protect the shop. "Before" and "Damage" photos prove a scratch or chipped glass was there before you started. "After" photos prove the quality of the work, back up warranty claims and make great marketing. The job cannot even be sent for quality inspection until "after" photos exist.
How to use it
Upload photos or videos
- Open the job: Tinting → Jobs & quotations, then click the job number.
- Scroll to Photos & videos.
- Pick the category (for example Before).
- Type or pick the Window / area, and add a Comment if useful.
- Choose the files. On a phone this opens the camera. You can upload up to 30 files at a time.
- Click Upload. If the phone asks to share your location, allow it so the GPS position is saved with the photos.
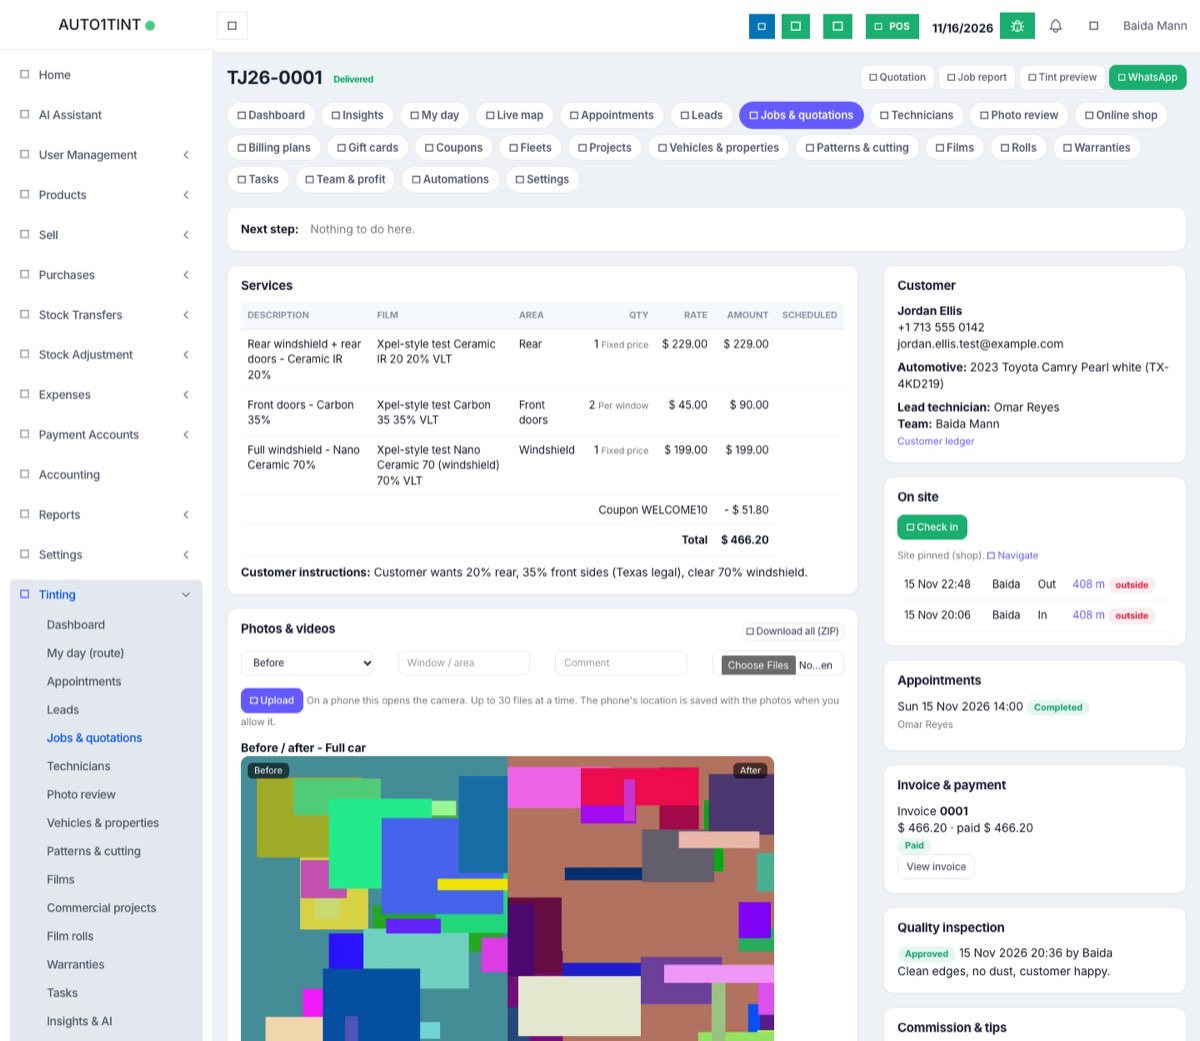
Photos uploaded by a technician show Waiting review until a manager approves them. Photos uploaded by a manager are approved straight away.
Before / after slider
When an area has both a Before and an After photo (not rejected), a Before / after slider appears at the top of the panel for that area. Drag the slider to wipe between the two pictures. Use the same area name for both photos to get the pair.
Mark up a photo
- Under the photo, click Mark up.
- Choose a tool: free draw, arrow, circle, box or text label, and a colour.
- Circle scratches, chips, cracks or existing damage. Use Undo, or Original to start again.
- Click Save.
The original photo is never changed; a marked copy is saved beside it and that copy is what reports show. Remove mark-up deletes the marked copy. Videos cannot be marked up. When a technician marks up a photo, it goes back to the manager for review like a new photo.
Review photos (managers)
- Go to Tinting → Photo review. A red badge on the menu shows how many photos are waiting.
- Use the tabs Waiting, Approved and Rejected.
- Tick photos (or Select all), then click Approve selected, or type a reason and click Reject selected.
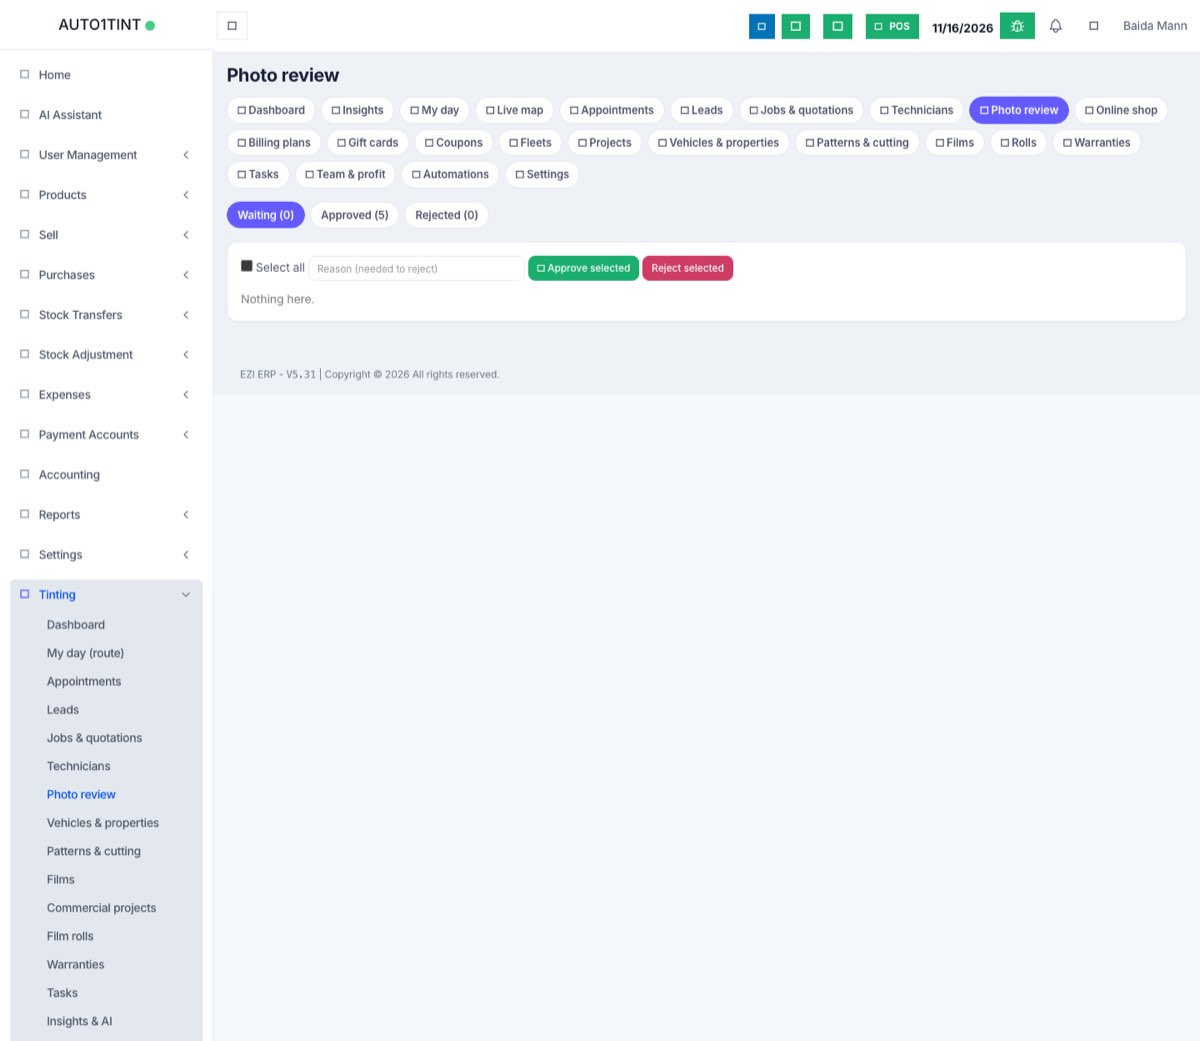
You can also approve (tick button) or Reject a single photo directly on the job card.
Share photos with the customer
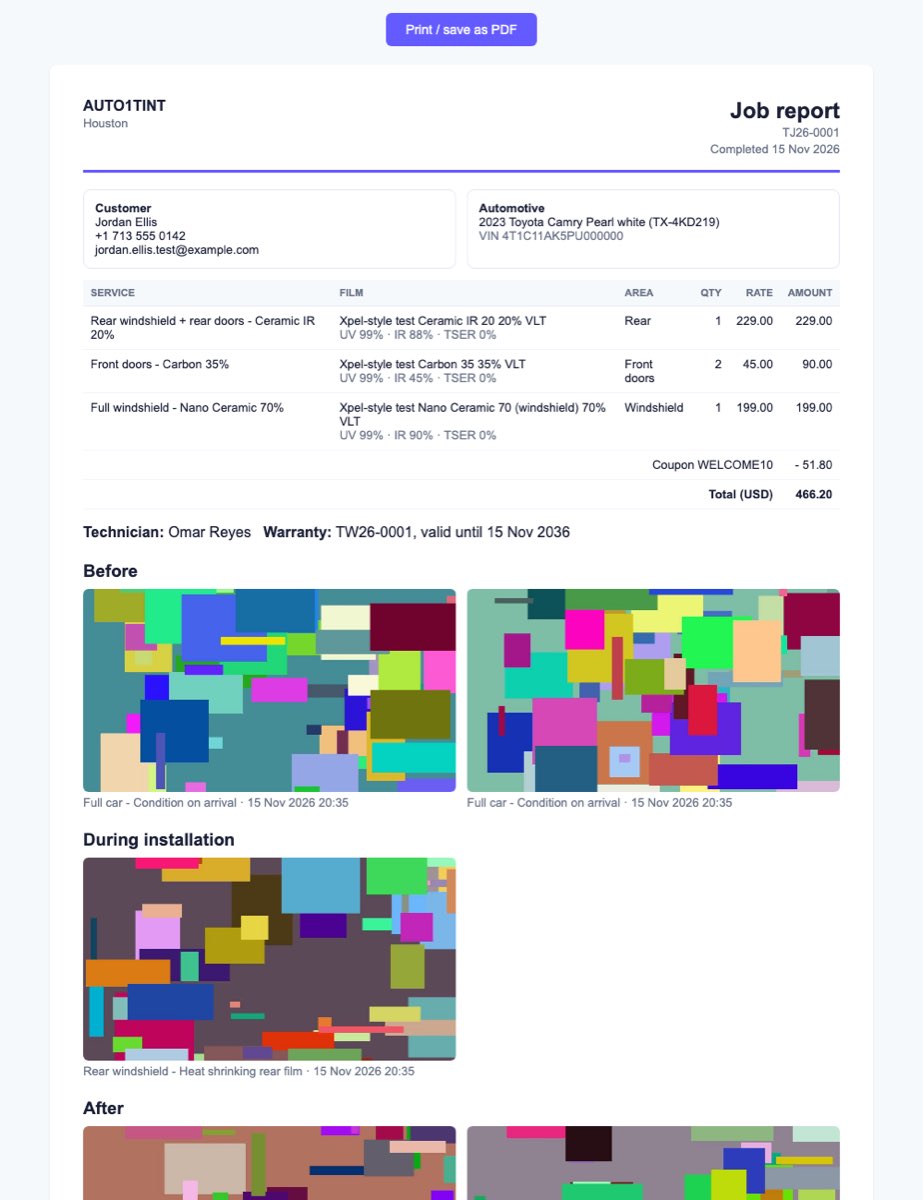
On the job card, approved photos have a Share button. Click it and it turns to Shared. Shared photos appear in the customer portal and on the Job report print. If no photos are shared, the staff job report shows all approved photos instead.
Download all photos
Click Download all (ZIP) at the top of the panel. The ZIP holds every photo and video on the job except rejected ones, named by category and area, with marked-up copies alongside the originals.
Automatic photo checks
Each uploaded photo is checked and may get a small flag:
- dark – too dark
- overexposed – too bright
- blurry – looks out of focus
- duplicate – the same picture as an earlier photo (on this or any other job); hover to see which photo number
Flags only help the reviewer; they never reject a photo on their own.
Rules & limits
- Anyone with tinting.access can upload and mark up photos on jobs they can see. Technicians only see jobs they lead or are on the team of.
- Only tinting.manage users can approve, reject, share or delete photos, and open Photo review.
- Rejecting needs a reason: "Say why the photos are rejected, so the technician can retake them."
- A photo must be approved before sharing: "Approve the photo before sharing it with the customer." Rejecting a photo always un-shares it.
- Allowed files: jpg, jpeg, png, webp, heic, heif, mp4, mov, webm; up to 100 MB each, 30 per upload. Large photos are shrunk to 2000 px to save space; videos and HEIC are kept as they are.
- Uploads count toward your plan's storage limit (see usage limits).
- A job cannot be sent for inspection until at least one After photo is uploaded (see quality inspection).
Tips
- Always take Before photos of every window and any existing damage before touching the car; mark the damage up and ask the customer to sign the damage acknowledgement (see signatures).
- Use the same area names for before and after photos so the slider pairs them.
- Retake anything flagged blurry or dark while you are still with the vehicle.