Contacts (customers & suppliers)
Keep every customer and supplier in one place, with their balance, ledger, payments and history.
What it is
Contacts are the people and companies you do business with. A customer buys from you. A supplier sells to you. One contact can be both. Every sale, purchase and payment is linked to a contact, so you always know who owes whom.
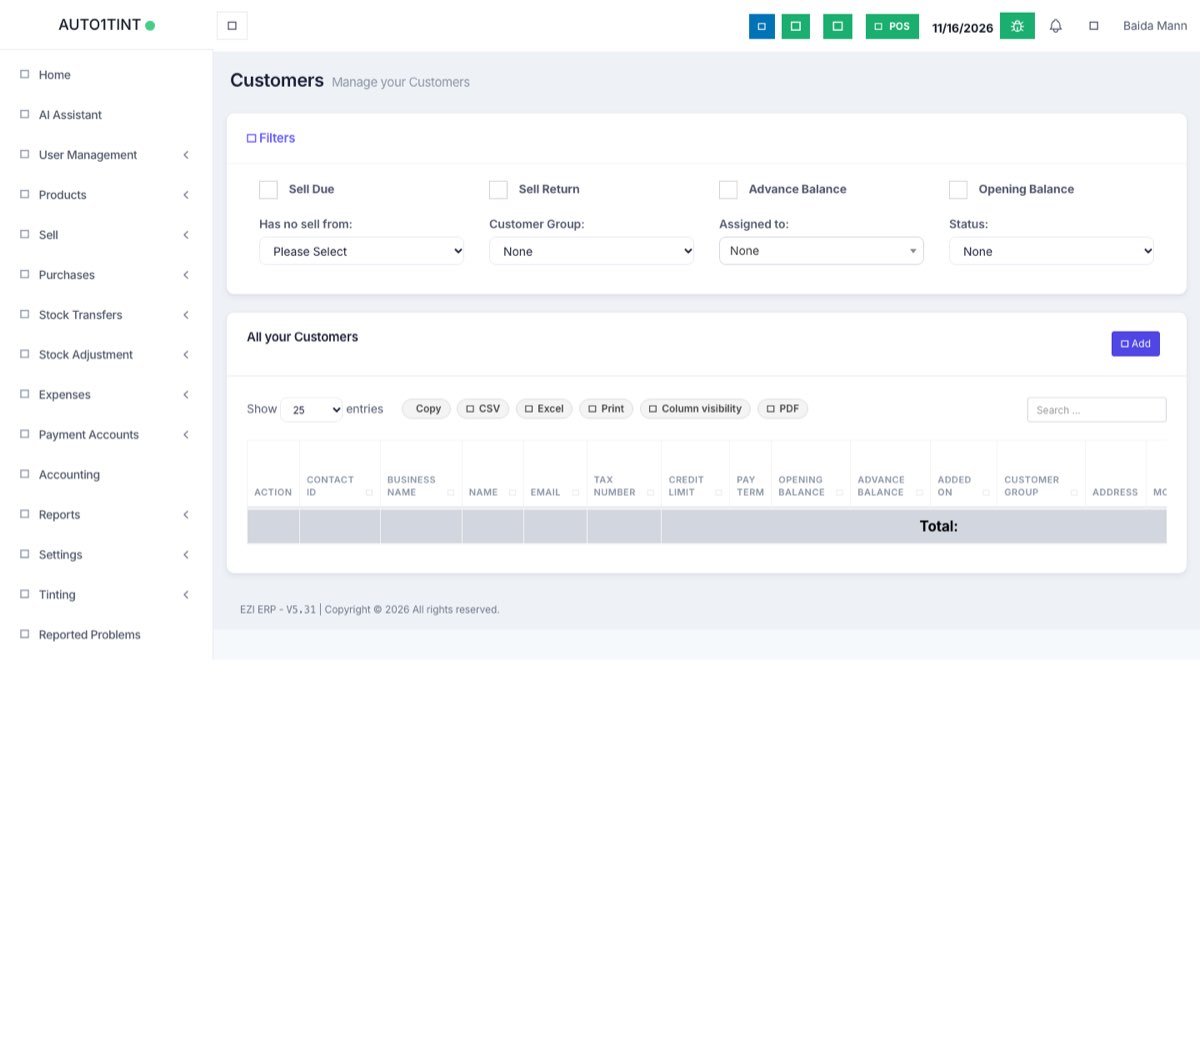
Why you would use it
- To know exactly how much each customer owes you and how much you owe each supplier.
- To print or send a customer a clear statement (ledger).
- To give credit limits and payment terms.
- To group customers (for example Wholesale or VIP) with their own prices or discount.
How to use it
Add a contact
- Go to Contacts > Customers (or Contacts > Suppliers).
- Click Add. The Add new contact form opens.
- Choose the Contact type: Customer, Supplier, or Both.
- Choose Individual or Business and fill in the name (and Business Name for suppliers).
- Contact ID – leave empty to autogenerate.
- Fill in Mobile, Email and other details. Click More Informations for Tax number, Opening Balance, Pay term, Credit Limit, address and custom fields.
- Click Save.
Opening balance
If a customer already owed you money (or you owed a supplier) before you started using EZI ERP, enter it as Opening Balance when adding the contact. It appears as the first line of the ledger and can be paid like any invoice.
View a contact and its ledger
- In the list, click Action > View on a contact.
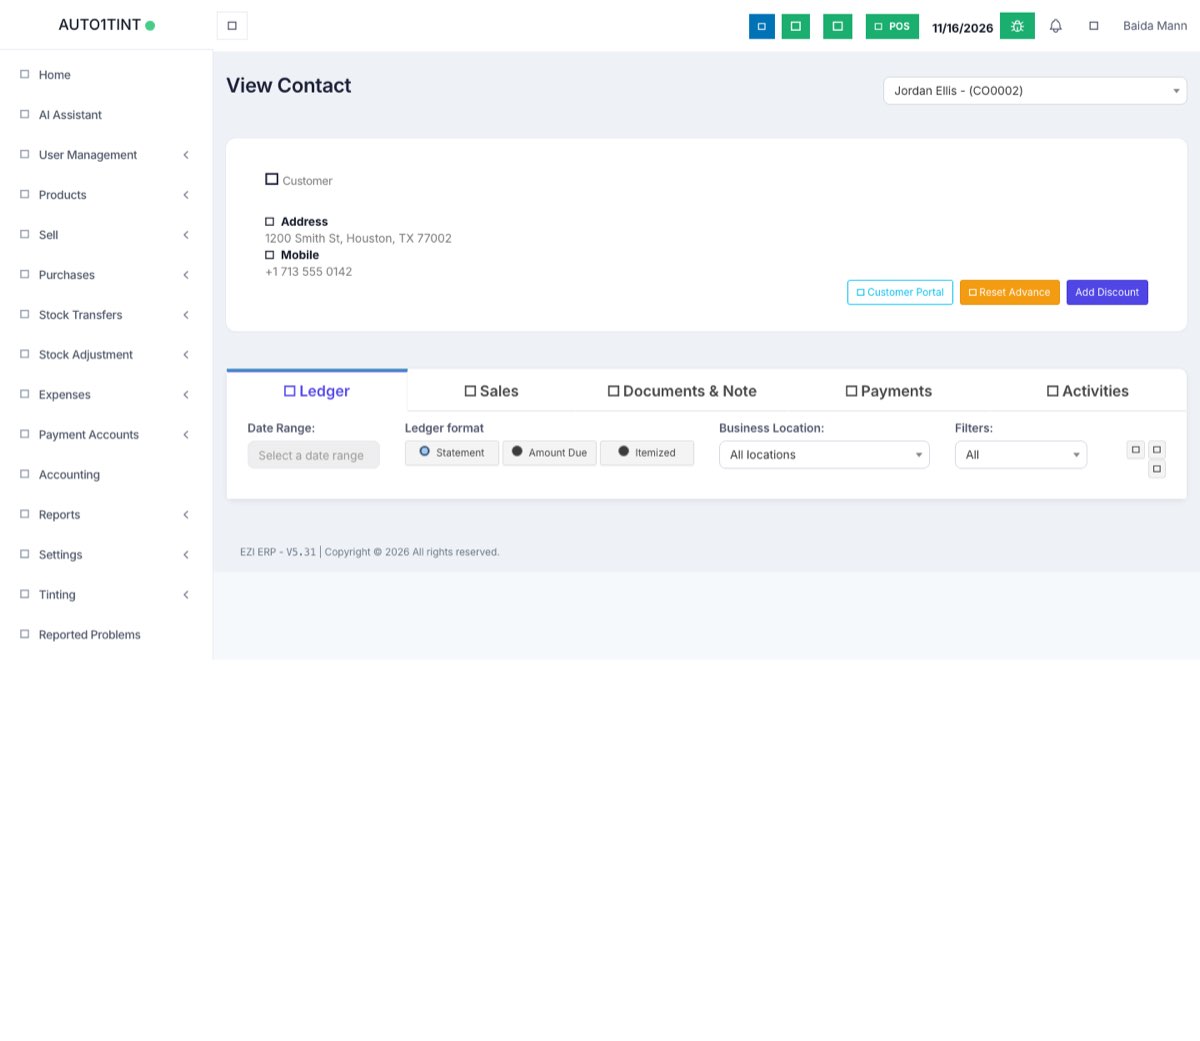
- The tabs show everything about them: Ledger, Sales (or Purchases), Stock Report, Subscriptions, Documents & Note, Payments, Reward Points and Activities.
- On Ledger, choose a Date Range to see every invoice, payment and return with a running balance.
- Use the print / PDF buttons to share the statement with the customer.
Customer groups
- Go to Contacts > Customer Groups and click Add.
- Enter the Customer Group Name and pick a Price calculation type: Percentage (enter a Calculation Percentage (%) – positive raises prices, negative lowers them) or Selling Price Group.
- Choose the group on the customer's form. Sales to that customer then use the group's prices.
Import many contacts at once
- Go to Contacts > Import Contacts.
- Click Download template file and fill it in Excel. Follow the Instructions table (column order matters; Contact type must be customer, supplier or both).
- Choose the file under File To Import and click Submit.
Filters and map
- The list has Filters for Sell Due, Sell Return, Purchase Due, Advance Balance, Opening Balance, Has no sell from (one month to one year), Customer Group, Assigned to and Status.
- Contacts > Map shows customers with saved addresses on a map.
Tips / common questions
- A customer paid without an invoice (advance). Add the payment from the contact's Payments area; it is held as Advance Balance and used on the next sale.
- Stop a contact being used by setting Status to Inactive instead of deleting it. Contacts with transactions cannot be deleted.
- Allow login on a contact gives that customer a login for the Customer portal.
- Contact balances feed the Supplier & Customer Report. See Reports.
- Related: Sales, Purchases.